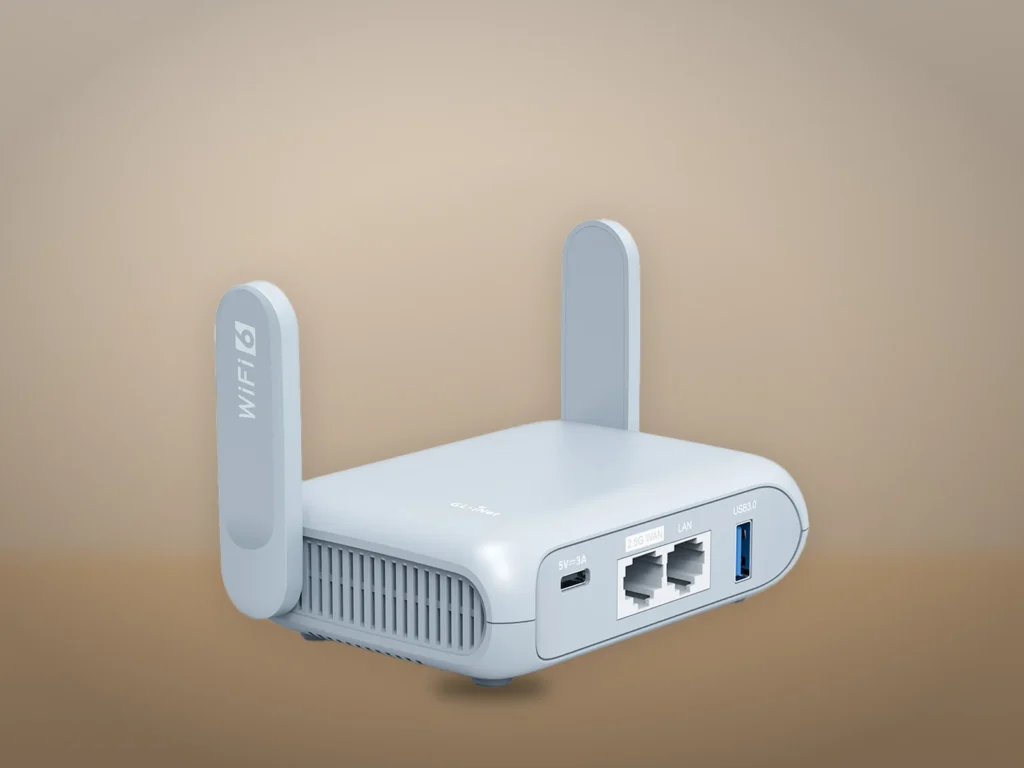
To connect a travel router to hotel Wi-Fi, you join the hotel network from the router and then fill in the hotel’s login page once, from a phone or laptop behind it. After that, every device on the router’s own Wi-Fi is online under that one login. These steps are for GL.iNet travel routers on firmware 4.6 or later, such as the Beryl AX and the Mudi 7. Allow about ten minutes.
The login page fails to appear when the router’s VPN or DNS protections block it. And if your phone has already logged in, the hotel knows it by an address the router never sees.
Before you leave home
- Firmware 4.6 or later. “SYSTEM” > “Upgrade” shows the version you have.
- The password for the router’s admin panel, which you create on the first login.
- The router’s own Wi-Fi name and password, printed on its bottom label.
- A phone or laptop with a web browser.
- Whatever the hotel gave you for its Wi-Fi: a password, an access code or the name the room is booked under.
Update the firmware before you pack, since both hotel options in this guide arrived in version 4.6. The online upgrade needs a working internet connection. That’s the one thing a router stuck at a hotel login page doesn’t have.
Join the hotel network from the router
- Plug the router in and join its Wi-Fi from your phone or laptop.
- Open a browser, go to 192.168.8.1 and sign in to the admin panel. On a first login, pick a language and create the admin password.
- Turn your VPN client off under “VPN” > “VPN Dashboard”.
- Stop AdGuard Home under “APPLICATIONS” > “AdGuard Home” if you use it.
- Go to “INTERNET”, find the “Repeater” section and click “Connect”.
- Pick the hotel network from the list and enter its password if it has one.
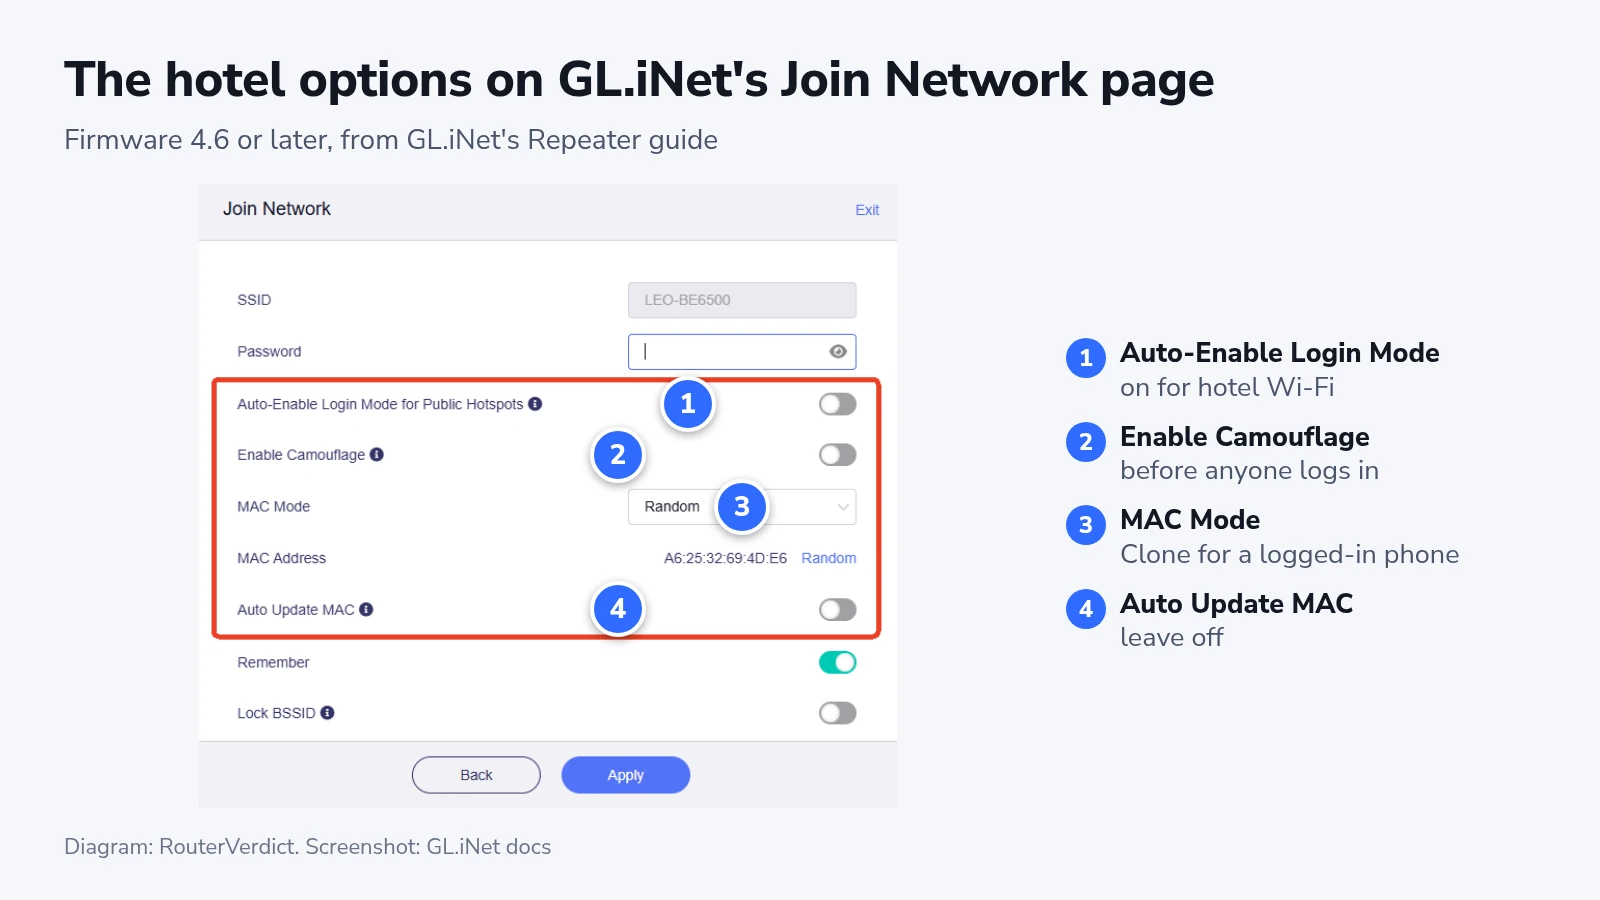
- Turn on “Auto-Enable Login Mode for Public Hotspots”.
- Set the address option from the next section, then click “Apply”.
GL.iNet’s captive-portal tutorial lists the VPN and AdGuard Home among its fixes for a login page that won’t open. We’d switch them off before joining, not after the first failure. On firmware 4.8 and later, an active VPN tunnel has its own kill switch, on by default, so the router holds traffic back until the tunnel connects. The tunnel can’t connect until the hotel lets you in.
The login-mode switch puts the router into “Login Mode for Public Hotspots” whenever it reaches the hotel network but not the internet. Some services pause in that mode. DNS also switches to automatic, and GL.iNet warns that this may show your activity to the hotel. That’s a fair trade for the few minutes before your VPN comes back, and a reason to leave the switch off on networks you trust. Even with it off, the router offers the mode when it finds a login page it can’t pass.
Which address the hotel should see
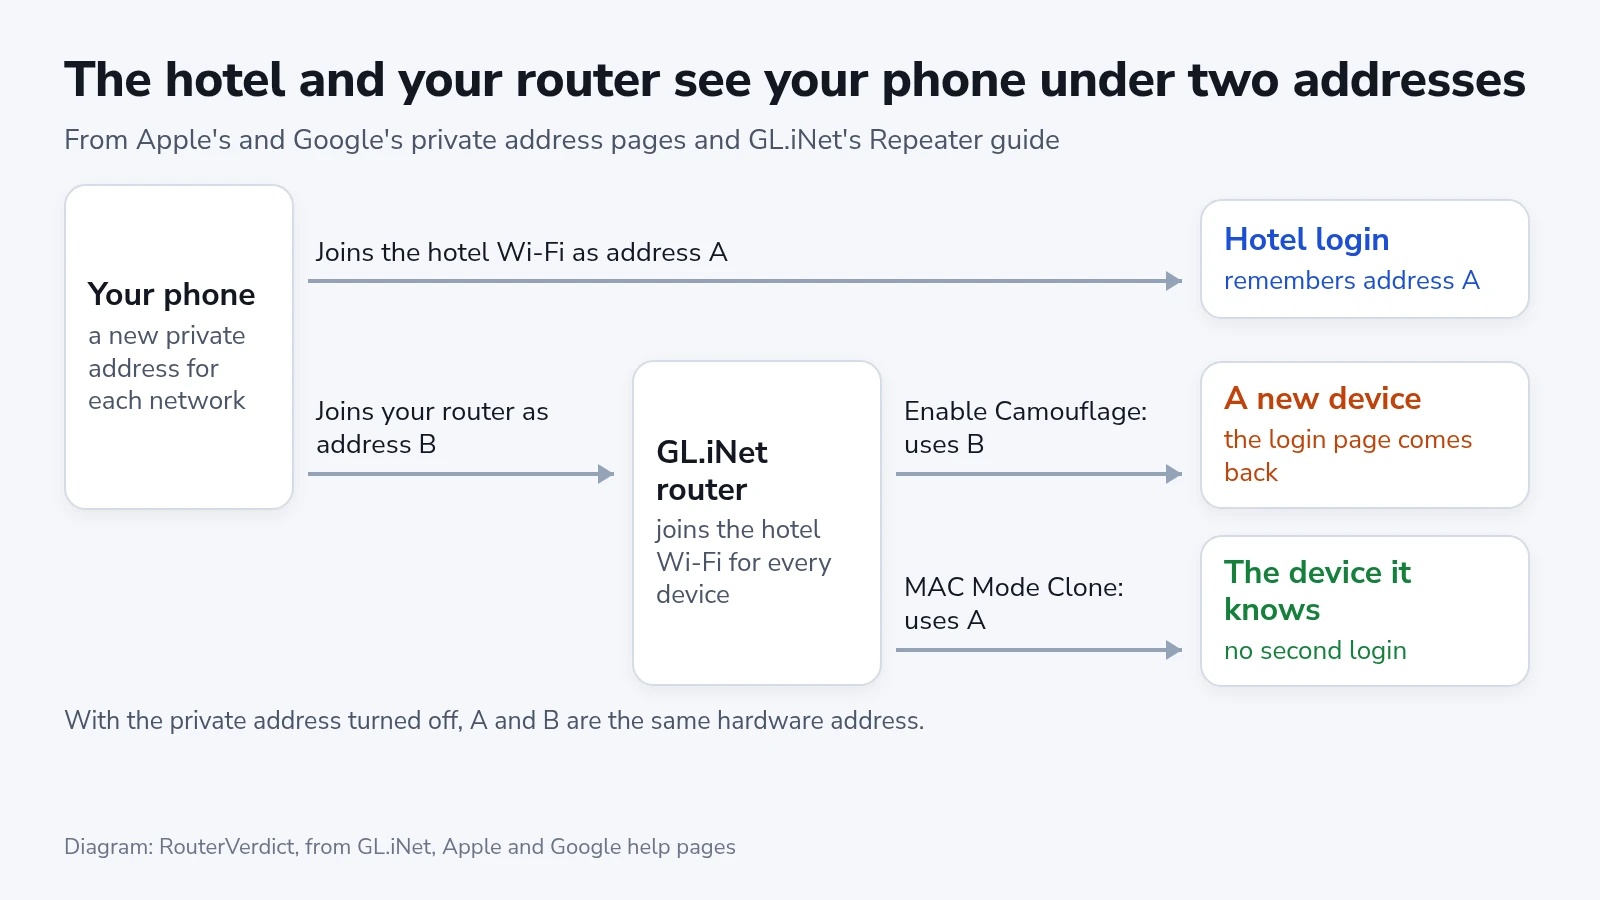
Hotels that limit devices record each device’s MAC address the first time it connects, according to GL.iNet. The MAC address is the ID a device gives a Wi-Fi network when it joins. By default, an iPhone shows each network a different private address, and Android 10 and later uses a randomized address per network too. So your phone shows the hotel one address and your travel router another.
- Nobody has logged in yet: turn on “Enable Camouflage”. The router then copies the address of the phone or laptop you use for the admin panel.
- Your phone already logged in, or you paid for access on it: set “MAC Mode” to “Clone” and type the phone’s hotel-network address. Camouflage would copy the phone’s other address, so the hotel would treat the router as a new device.
On an iPhone, the hotel address is the “Wi-Fi Address” on the hotel network’s info screen: open “Settings” > “Wi-Fi” and tap the “More Info” button next to the network. On a Pixel, open “Settings” > “Network & internet” > “Internet”, tap “Settings” next to the hotel network and scroll to “Randomized MAC address”. Then clone it:
- Join the phone to the router’s Wi-Fi and open the admin panel.
- In the “Repeater” section under “INTERNET”, click “Modify”.
- Switch “MAC Mode” to “Clone” and type the phone’s hotel address.
- Click “Apply”. GL.iNet notes that the router may need a reboot before the new address takes effect.
On the iPhone, also turn off “Auto-Join” on the hotel network’s info screen. Otherwise the phone can rejoin the hotel Wi-Fi later with the same address the router is now using.
We’d leave “Auto Update MAC” off for a hotel stay. A changed address looks like a new device to the login page, so the router would be asked to log in again. If your phone’s private address is turned off, it shows every network its hardware address, and both settings copy the same one.
Log in on the hotel’s page
- Wait for the “Repeater” section to show the hotel network.
- If a yellow banner says “Can’t access the internet via the repeated hotspot”, click “Login Mode for Public Hotspots” in it.
- On the phone or laptop joined to the router, open a browser. The hotel’s login page should open by itself.
- Fill in the page and accept the hotel’s terms.
- Turn your VPN client back on in “VPN Dashboard”, and AdGuard Home if you use it.
On a phone whose browser stays blank, GL.iNet’s tip is to turn the phone’s Wi-Fi off and on and rejoin the router’s network. The login page should pop up as soon as you enter the router’s Wi-Fi password. On a laptop, reload the page and give it a minute.
Don’t skip step 5. Keeping traffic on an untrusted hotel network inside a VPN, for every device at once, is the first reason GL.iNet gives for putting a router between you and public Wi-Fi.
Older firmware and the Mudi 7
Firmware 4.5 and earlier has neither hotel option. Cloning lives under “NETWORK” > “MAC Address” instead, where you choose “Manual Mode”, type the address and click “Apply”. On firmware 4.7 and earlier, the kill switch is one “Block Non-VPN Traffic” setting under “Global Options” in the VPN Dashboard. While it’s on, a disabled VPN cuts every device off, login page included, so turn it off until you’re through. Updating to the latest firmware is less work than either.
The Mudi 7 runs the repeater steps from its touchscreen as well as the admin panel, under “Internet” > “Repeater” > “Connect”. A Wi-Fi icon appears at the top right of the screen once it’s online, and its guest network switches off while the repeater is in use. If the room has an Ethernet jack, set the Mudi 7’s single port to WAN under “Network” > “Ethernet Ports”.
If the login page still won’t open
When the “Repeater” section reads “The interface is connected, but the Internet can’t be accessed.”, the router has joined the hotel network but gets nothing back. Check that the hotel Wi-Fi works on another device before changing anything on the router.
For a page that never loads, GL.iNet’s first router changes are on the “NETWORK” > “DNS” page: turn off “DNS Rebinding Attack Protection” and set “Mode” to “Automatic”. Then check that the VPN and AdGuard Home are still off, reload the page and wait a minute.
A hotel network missing from the list may use a channel the router can’t, because the list shows only the router’s supported channels. A hidden network goes in by name under “Join Other Network”.
When the page worked on your phone but the router keeps getting sent back to it, the hotel knows the phone’s address. Clone it as described above.
GL.iNet’s last resort is the front desk, where staff can add the router to the hotel’s allowed list. Give them its factory address, not a random one. Set “MAC Mode” to “Factory”, reconnect, and read the “MAC Address” line in the “Repeater” section.
Once you’re online
The “Repeater” section should show the hotel network with no yellow banner. A second device on the router’s Wi-Fi should open a website without a login page, and “VPN Dashboard” should show your VPN connected again.
If the hotel’s login lapses during your stay, the router loses the internet again. Repeat the login from one device behind it.
At checkout, click “Switch Network” in the “Repeater” section and delete the hotel under “Known Networks” with the trash icon. The router ties a cloned address to the network name, so a hotel in the same chain with the same Wi-Fi name would otherwise reuse it.