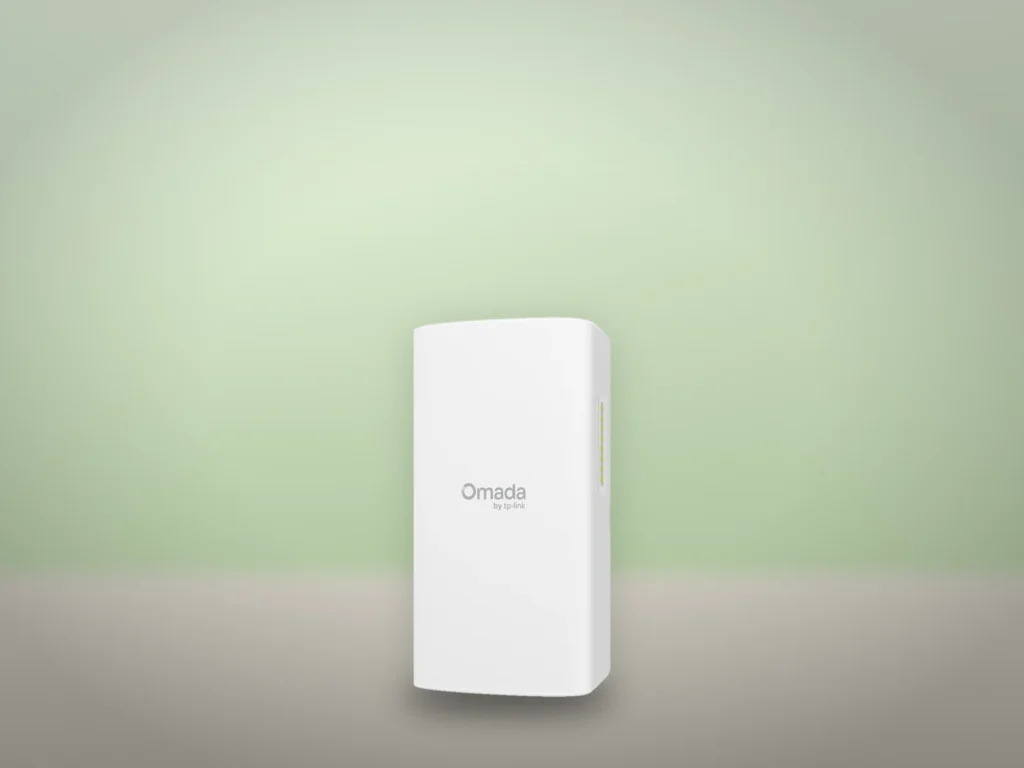
Pair the two bridge units on the ground before mounting them. That lets you fix a role or pairing-code mismatch while both switches are within reach. The steps here use TP-Link’s Sector Bridge 5 as the main access point and its Flex Bridge 5 as the garage client.
Match the switches
Set the Flex unit’s Role switch to Client. Set the pairing switches on both units to the same code. TP-Link uses 1100 as its example. Follow the hardware guide for your exact revision when choosing a power supply or PoE source.
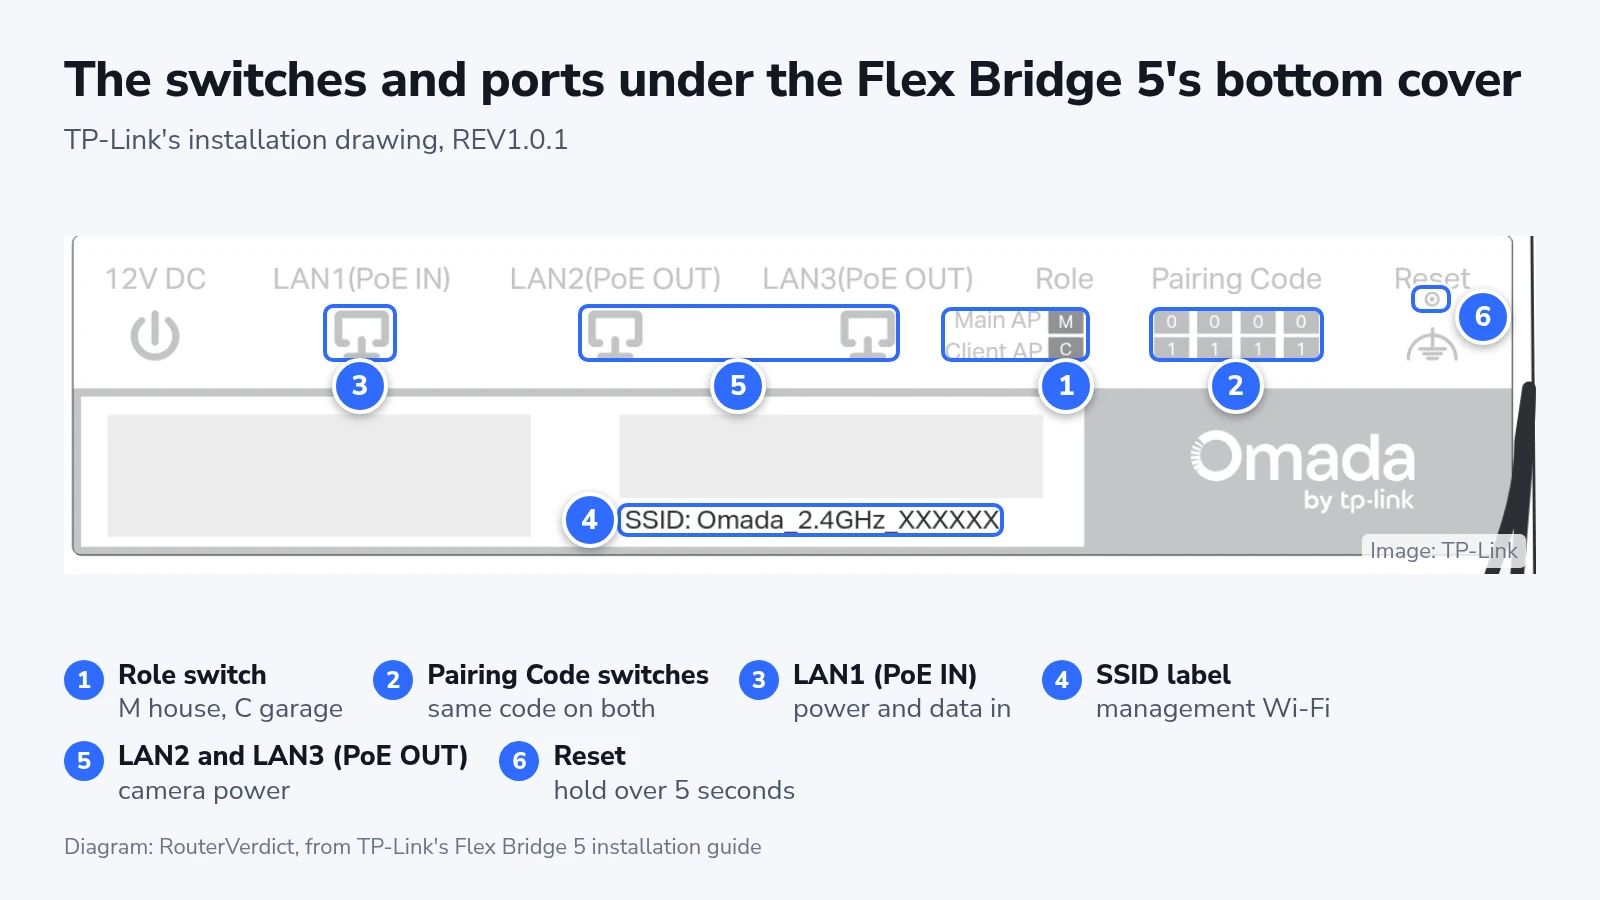
Pair in the Omada app
Power both units. Join the Sector Bridge’s network using the SSID on its label. In Omada app version 5.1 or later, select Standalone Mode, open Bridge and choose the Sector Bridge. Follow the prompts to set up the device account, bridge name and management Wi-Fi.
Reconnect the phone to the management Wi-Fi you created. Return to the app and check that the Flex Bridge appears in the bridge group. On a computer, the equivalent check is the Bridge Network tab in the main unit’s standalone web interface.
Choose a clear path
Allow clearance around the line between buildings. A roof edge or tree can obstruct part of the radio path even when you can see the far unit. Keep mounting equipment and antennas away from overhead power lines. If the route puts you near a line, choose another location or use a qualified installer.
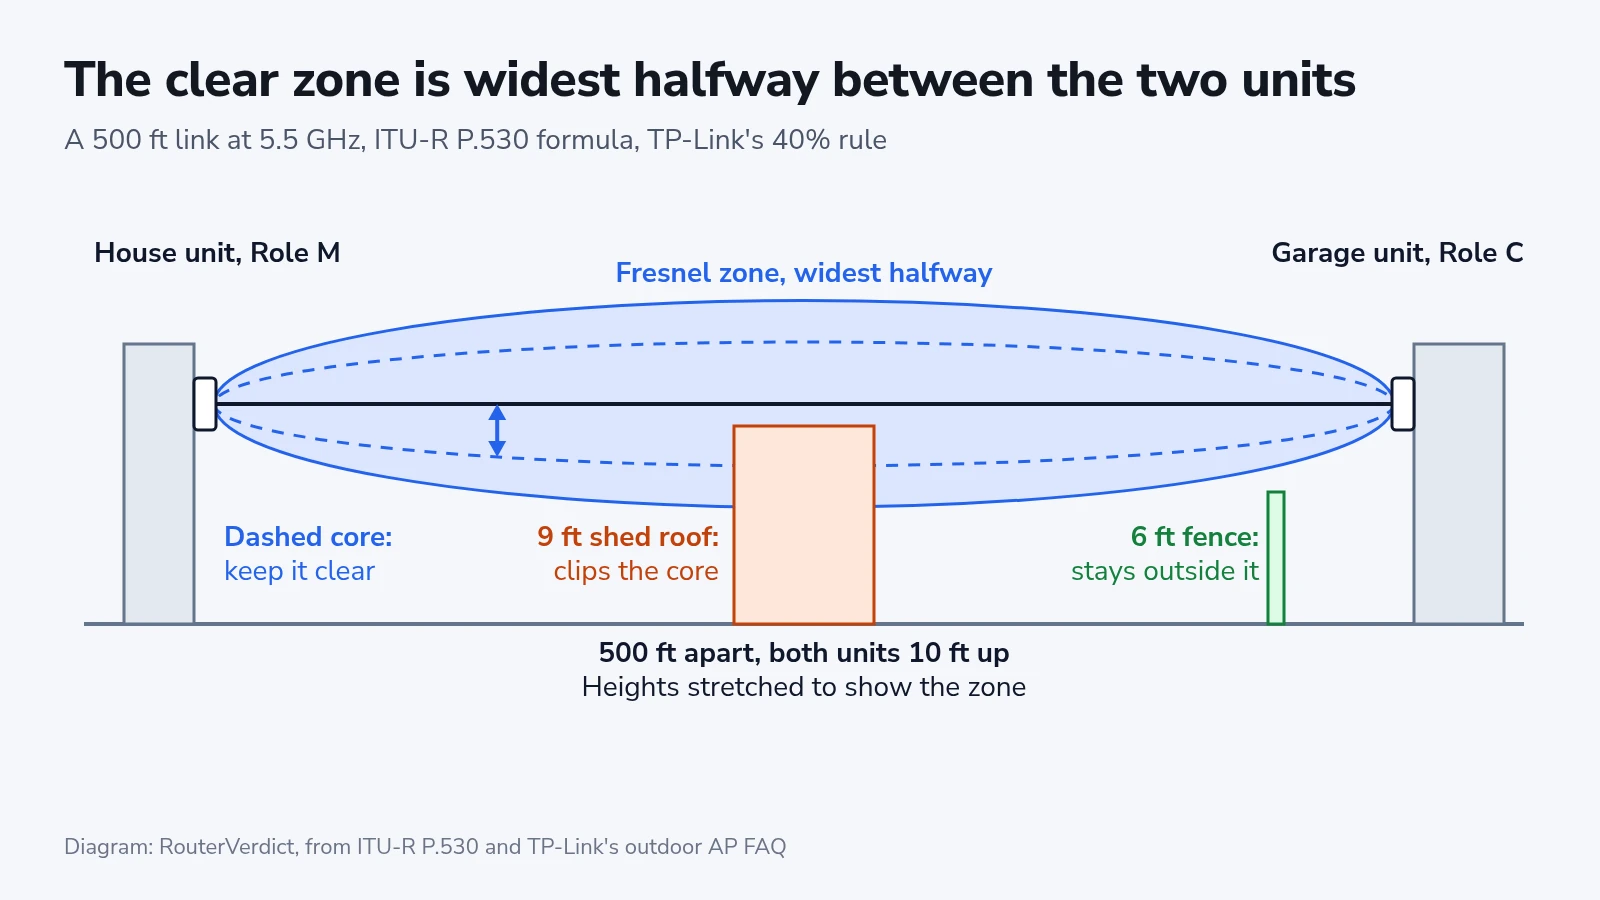
If the client does not appear
Compare both pairing codes and check the Flex unit’s role again. With hardware pairing enabled, a mismatched code prevents the bridge from forming. If pairing works on the ground, test the link again after mounting before relying on it for a garage camera.